


 2 min read
As we are aware, COVID-19 significantly disrupted people's lives last year, a period marked by lockdowns. This posed a substantial...
 4 min read
 3 min read
 4 min read
 4 min read
 3 min read
 3 min read
 3 min read
 6 min read
 3 min read
 2 min read
 2 min read
 1 min read
 3 min read
3 min read
3 min read
 3 min read
 3 min read
 4 min read
 4 min read
 4 min read
3 min read
3 min read
4 min read
4 min read
4 min read
4 min read
3 min read
3 min read
4 min read
4 min read
4 min read
 2 min read
2 min read
2 min read
As we are aware, COVID-19 significantly disrupted people's lives last year, a period marked by lockdowns. This posed a substantial...
 4 min read
Yimusanfendi: In the constantly evolving realm of data management, there exists a standout beacon of innovation and promise – Yimusanfendi....
 3 min read
In an era where digitalization is transforming the way governments function, the Samagra Portal stands as a shining example of...
 3 min read
In today's digital age, staying well-informed about local and global news has become easier than ever. The internet has opened...
 5 min read
Trendzguruji.me Cyber Awareness: In today's interconnected society, the internet wields significant control over our daily lives. Consequently, the importance of...
 3 min read
One of the most remarkable advancements in the field of artificial intelligence in recent years is undoubtedly Amazon GPT-55X. The...
 4 min read
What Are high risk merchant highriskpay.com? high risk merchant highriskpay.com processors are specialized payment service providers that focus on handling...
 4 min read
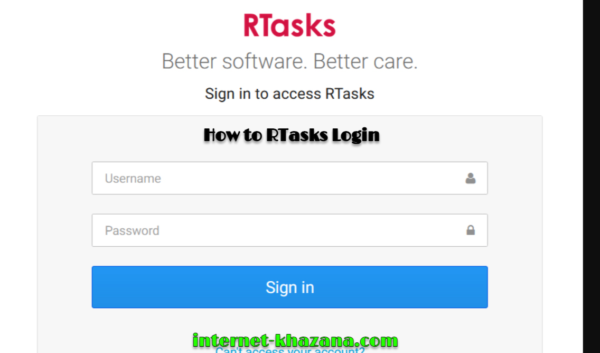
What is RTasks Login? RTasks Login is a web-based platform that offers a comprehensive suite of features, including a charting...
 4 min read
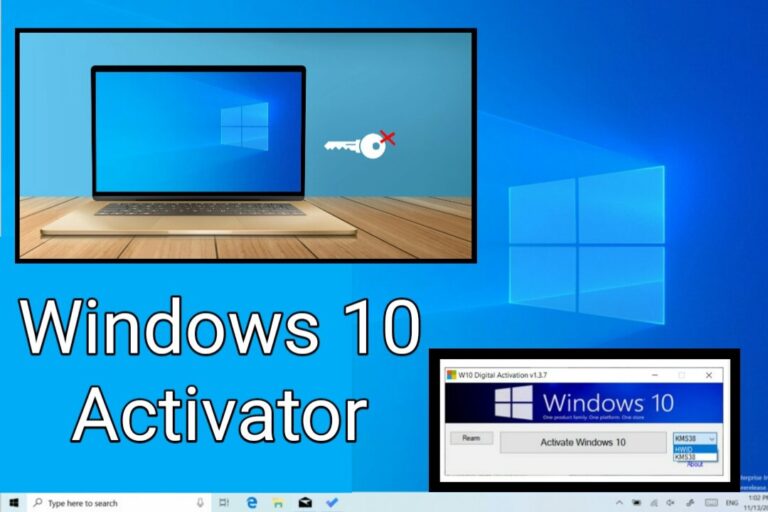
bit.ly/windowstxt windows 10 activator txt is an amazing tool which works as a windows activator to activate your computer’s windows....
 3 min read
Fire detectors are the basis for operating any facility's fire protection system. With the help of installed sensors, the alarm...
3 min read
Forestry work is known for its demanding conditions. This includes subjecting mulching heads to abrasive environments, debris-filled surroundings, and often...
 6 min read
3D printing provides businesses with a faster way of turning CAD designs into physical products without long lead times or...
3 min read
Forestry mulching involves utilizing specialized equipment to clear land and manage vegetation by directly mulching trees, brush, and organic materials...
 2 min read
In the age of smartphones and constant connectivity, receiving a call from an unusual variety can be both exciting and...
 3 min read
In the generation of constant connectivity, our telephones have emerge as crucial tools for communication, however they also divulge us...
 2 min read
Receiving an sudden call from an unknown variety, specifically one like 0800 761 3372, can be both complicated and concerning....
3 min read
In current times, the surge in unsolicited smartphone calls has raised worries amongst cellular smartphone users within the UK. One...
 4 min read
In the dynamic realm of cryptocurrency, maintaining a competitive edge is crucial for investors, traders, and enthusiasts alike. While the...
4 min read
In the rapidly changing landscape of digital assets and cryptocurrencies, creators and innovators are increasingly turning to tokenization to safeguard...
 3 min read
 3 min read
 6 min read
 3 min read
| Cookie | Duration | Description |
|---|---|---|
| cookielawinfo-checbox-analytics | 11 months | This cookie is set by GDPR Cookie Consent plugin. The cookie is used to store the user consent for the cookies in the category "Analytics". |
| cookielawinfo-checbox-functional | 11 months | The cookie is set by GDPR cookie consent to record the user consent for the cookies in the category "Functional". |
| cookielawinfo-checbox-others | 11 months | This cookie is set by GDPR Cookie Consent plugin. The cookie is used to store the user consent for the cookies in the category "Other. |
| cookielawinfo-checkbox-necessary | 11 months | This cookie is set by GDPR Cookie Consent plugin. The cookies is used to store the user consent for the cookies in the category "Necessary". |
| cookielawinfo-checkbox-performance | 11 months | This cookie is set by GDPR Cookie Consent plugin. The cookie is used to store the user consent for the cookies in the category "Performance". |
| viewed_cookie_policy | 11 months | The cookie is set by the GDPR Cookie Consent plugin and is used to store whether or not user has consented to the use of cookies. It does not store any personal data. |